ConvertKit (Kit) Automation Sequences: 2026 Guide + Examples
Kit’s automation system sits at the intersection of simplicity and genuine power. Unlike enterprise platforms that require a developer to configure, Kit’s sequences and automation rules are designed to be manageable by a solo creator or small team. But don’t mistake simplicity for limited capability — with the right architecture, Kit automations can handle sophisticated, behaviour-triggered journeys that compete with anything a more complex platform can produce. Kit is the new name for ConvertKit — same platform, rebranded in 2024.
This guide covers everything you need to know to build automations that actually convert: sequences, automation rules, the visual automation builder, tagging strategy, and real-world examples you can model.
Sequences vs Broadcasts: Understanding the Difference
Before building automations, it helps to be clear on when to use sequences and when to use broadcasts.
Broadcasts are one-off emails sent to your list (or a segment of it) at a specific point in time. Your weekly newsletter, a product announcement, a flash sale email — these are all broadcasts.
Sequences are pre-written series of emails delivered automatically over time, triggered by an event rather than a send date. A welcome sequence, a product launch sequence, a post-purchase onboarding sequence — these run independently of any specific date.
The key difference is timing ownership. Broadcasts are calendar-driven (you decide when they go). Sequences are subscriber-driven (they go when the subscriber triggers them).
For automation, you almost always want sequences. They scale infinitely — one subscriber or ten thousand can be in a sequence simultaneously, each at a different point in the journey, all being served the right email at the right time.
Here’s how the three building blocks compare at a glance:
| Broadcasts | Sequences | Visual Automations | |
|---|---|---|---|
| What it is | One-off email to your list or a segment | Pre-written email series delivered automatically | Canvas that connects sequences, rules, tags, and conditions into a journey |
| Timing | Calendar-driven — you decide when it goes | Subscriber-driven — triggered by an event | Event-driven — runs from an entry point to a defined exit |
| Best for | Newsletters, announcements, flash sales | Welcome, launch, post-purchase, re-engagement journeys | Mapping and debugging the full subscriber journey |
Kit’s Automation Rules: Triggers, Actions, and Conditions
Automation rules in Kit follow a simple structure: When [trigger] happens, [action] occurs if [condition] is met.
Triggers
Triggers are the events that start an automation rule. The most useful triggers in Kit include:
- Subscribes to a form — someone opts in to a specific form or landing page
- Tag is added — a subscriber receives a specific tag (often applied by another automation, a purchase, or a manual process)
- Link is clicked — a subscriber clicks a specific link in an email (great for detecting intent)
- Purchase is made — a subscriber completes a Kit Commerce purchase
- Course is completed — a subscriber completes a Kit-hosted course
Actions
Actions are what happens when the trigger fires:
- Add to sequence — enrol the subscriber in a specific sequence
- Add tag / Remove tag — update the subscriber’s tag profile
- Unsubscribe from sequence — remove the subscriber from a running sequence (useful when they buy mid-sequence)
- Send email — send a one-off email immediately (distinct from a sequence)
Conditions
Conditions add an if/then layer to automation rules. You can say “only fire this action if the subscriber has (or does not have) this tag.” This is how you prevent buyers from receiving sales emails, or ensure a subscriber only receives a sequence once.
Common condition use cases:
- Only add to warm sequence if
cold-sequence-completetag is present - Only send launch sequence if
customer-[product-name]tag is absent - Only add to re-engagement sequence if
engagedtag is absent
Visual Automation Map Builder
Kit’s Visual Automation builder is where individual sequences and rules come together into a complete journey map. Access it via Automate → Visual Automations.
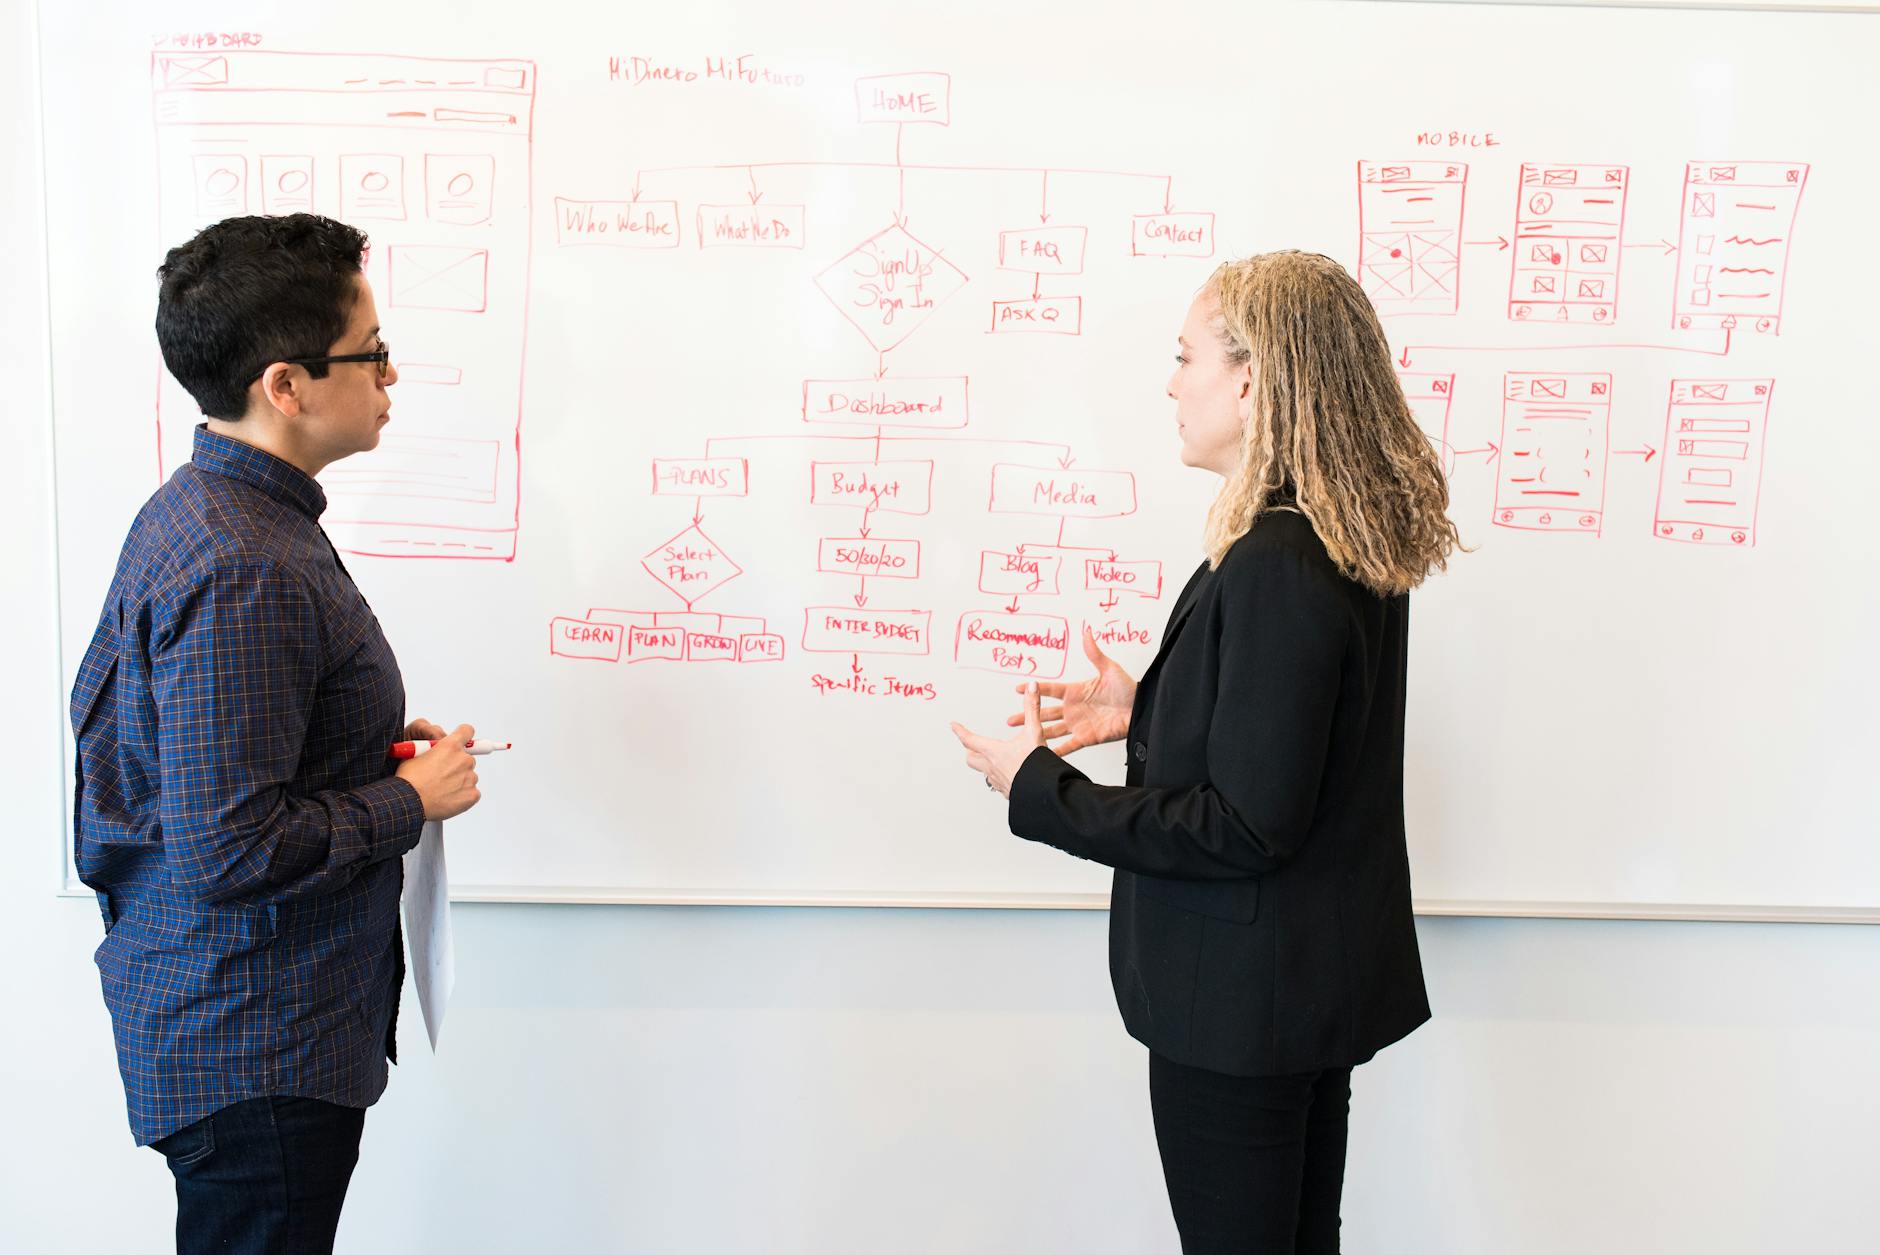
The visual canvas lets you see the full subscriber journey at a glance — entry points, sequences, conditions, tags, and exits. This is enormously useful for debugging automations and for communicating funnel logic to a team or client.
Building a Visual Automation: Step by Step
-
Create a new visual automation and give it a clear name tied to its purpose (e.g., “New Subscriber → Buyer Funnel” or “Post-Purchase Onboarding”).
-
Set the entry event. This is usually a form subscribe, but can also be a tag applied event or a manual trigger.
-
Add a sequence node. Select or create the first sequence in the journey (e.g., your welcome/cold sequence).
-
Add an action node after the sequence. Apply a completion tag (e.g.,
welcome-sequence-complete) so other automations or conditions can reference this later. -
Add a condition node. Check whether the subscriber has already purchased. If yes, route them to a post-purchase sequence. If no, continue to the next sequence.
-
Repeat for each stage. Add warm sequence, then a condition checking for purchase, then either a sales sequence or a re-engagement path.
-
Set the exit. Every visual automation should have a defined exit — either a tag applied, an event, or simply the end of the last sequence.
Tagging Within Automations
Tags applied within automations are the mechanism that makes Kit funnels intelligent. They allow different automations to communicate with each other and ensure subscribers are always in the right place.
A discipline worth building early: never rely on external memory or documentation to know where a subscriber is. Let the tag profile tell the story.
A subscriber tagged welcome-complete, warm-complete, sales-page-click, and customer-[product] tells you everything about their journey without opening a single automation or sequence.
Link Triggers for Behavioural Tagging
One of Kit’s most useful features for behavioural tagging is link triggers. In any sequence email, you can set a specific link so that clicking it automatically applies a tag.
This is how you track intent without asking subscribers to fill in a survey:
- A subscriber clicks “yes, tell me more about [product]” → tag
interested-[product]applied → automation enrolls them in a warm-up sequence for that product - A subscriber clicks “I’m not interested” → tag
not-interested-[product]applied → automation removes them from that product’s sequences
This kind of preference-based routing keeps subscribers engaged because they feel in control of their experience.
5 Kit Automation Examples You Can Copy
These five automations cover the full subscriber lifecycle. Each one uses only the building blocks covered above — sequences, automation rules, tags, and link triggers.
1. Welcome (Cold) Sequence
Entry is a form subscribe: the welcome sequence introduces new subscribers to your work, then finishes by applying a completion tag (e.g. welcome-sequence-complete) so later conditions can reference it.
2. Warm-Up Sequence
Gate entry with a condition — only add subscribers whose cold-sequence-complete tag is present — or enrol via a link trigger: a click on “yes, tell me more about [product]” applies an interest tag and starts the warm-up.
3. Sales Sequence
Gate with a condition so the launch sequence only sends when the customer-[product] tag is absent; when someone purchases, an automation rule removes them from the sequence mid-flight so buyers never see another pitch.
4. Post-Purchase Onboarding Sequence
The post-purchase sequence is one of the most valuable automations you can build, and one of the most commonly neglected.
When a subscriber purchases through Kit Commerce (or via a Zapier trigger from Gumroad, Teachable, or another platform), the automation should:
- Apply the relevant
customer-[product]tag - Remove the subscriber from any active sales sequences for that product
- Enrol them in the post-purchase sequence
A well-built post-purchase sequence for a digital product might look like:
- Email 1 (immediate): Confirmation and access delivery. Warm, personal tone. Include a direct link to the product, not just a receipt.
- Email 2 (Day 2): Quick win. Share the single most valuable thing the customer can do with the product in the first 24 hours.
- Email 3 (Day 5): Check in. Ask how it’s going. Invite a reply. This email gets a surprisingly high reply rate and surfaces objections or confusion early.
- Email 4 (Day 10): Case study or success story. Show what’s possible with consistent use.
- Email 5 (Day 14): Upsell or community invite. If you have a higher-tier product or a community, this is the natural moment to introduce it to an engaged new customer.
5. Re-Engagement Sequence
Subscribers who have stopped opening your emails are not necessarily gone forever. A re-engagement sequence can recover a meaningful percentage of them — and help you clean the list of those who genuinely aren’t coming back.
To set up a re-engagement campaign in Kit:
- Create a segment of subscribers who have not opened an email in 90 days (Kit’s subscriber filters let you do this)
- Apply a tag
needs-reengagementto this segment - Build an automation rule: when
needs-reengagementtag is applied → enrol in re-engagement sequence
The re-engagement sequence itself is typically 3–5 emails over 2–3 weeks:
- Email 1: A curiosity-driven subject line (“Did we lose you?”) with a soft nudge and a reminder of the value you deliver.
- Email 2: Your single best piece of free content — your most-read post, most useful resource, or most shared piece.
- Email 3: A direct ask: “Should I keep sending you emails?” with a simple click-to-confirm link.
- Email 4 (if no engagement): The “last email” — acknowledge they haven’t responded and let them know this is the last email before you unsubscribe them.
In Kit, set a final automation rule: if the subscriber does not click anything or open any email in the sequence, unsubscribe them automatically. This keeps your list healthy and your deliverability strong.
Tips for Keeping Automations Clean at Scale
As your Kit account grows, automation complexity grows with it. These practices prevent the common pitfalls:
Name everything consistently. Use a clear naming convention from day one. Something like [funnel] | [stage] | [version] (e.g., “Course Launch | Warm Sequence | v2”) makes it easy to find and update assets without digging through a cluttered list.
One sequence, one purpose. Resist the urge to build multi-purpose sequences. A sequence that tries to welcome new subscribers AND sell a product AND re-engage cold subscribers will perform poorly at all three. Keep sequences focused.
Test automations with a test subscriber. Before going live, add a test email address as a subscriber and walk through the entire automation manually. Check that tags are applied in the right order, conditions route correctly, and sequences fire as expected.
Audit automations quarterly. Kit automations run silently in the background, which means a broken condition or a retired sequence can cause problems for months before you notice. A quarterly audit of active automations — checking entry rates, completion rates, and exit paths — catches issues early.
Document your automation logic. Keep a simple diagram or written description of each automation’s logic outside of Kit. This is especially important if you work with a team or hand work off to an agency. The documentation should answer: what triggers this, who enters, what happens to them, and what happens when they exit.
Kit Automation FAQ
Is ConvertKit now called Kit?
Yes. Kit is the new name for ConvertKit — the platform rebranded in 2024. Same product, same sequences and automation rules; only the name changed.
What’s the difference between a sequence and a visual automation?
A sequence is a pre-written series of emails delivered automatically over time, triggered by an event. A visual automation is the map that connects sequences, automation rules, tags, and conditions into a complete journey — with entry points, routing, and exits you can see at a glance.
How do link triggers work?
In any sequence email, you can set a specific link so that clicking it automatically applies a tag. An automation rule then acts on that tag — for example, a click on “yes, tell me more” applies an interest tag and enrols the subscriber in a warm-up sequence, while an “I’m not interested” click removes them from that product’s sequences.
Kit’s sequences and automation rules are genuinely well-designed for the way creator and product businesses operate. The learning curve is lower than most enterprise platforms, and the ceiling is higher than most creator tools. The gap between average results and exceptional results is almost always strategy, not technical capability.
At Excelohunt, our Kit (ConvertKit) services cover building and optimising Kit automation systems for creators and product businesses at every stage of growth. If your automations are underperforming — or you haven’t built them yet — we can audit your current setup and show you exactly where to focus.
Related Excelohunt Services
Looking to implement these strategies with expert support?
- Kit (ConvertKit) — learn how we implement this for clients
- Email Automations — learn how we implement this for clients
More in Strategy
- Best Email Marketing Agencies for Small DTC Brands ($40k+/mo)
- Best Email & SMS Marketing Agencies for Ecommerce (2026)
- Chronos Agency Alternatives for $40k–$500k/mo DTC Brands
- Chronos Agency Pricing Explained: Is the $10k Minimum Worth It?
- Chronos Agency vs InboxArmy: Which Is Better for DTC Email?